Last updated November 18, 2026


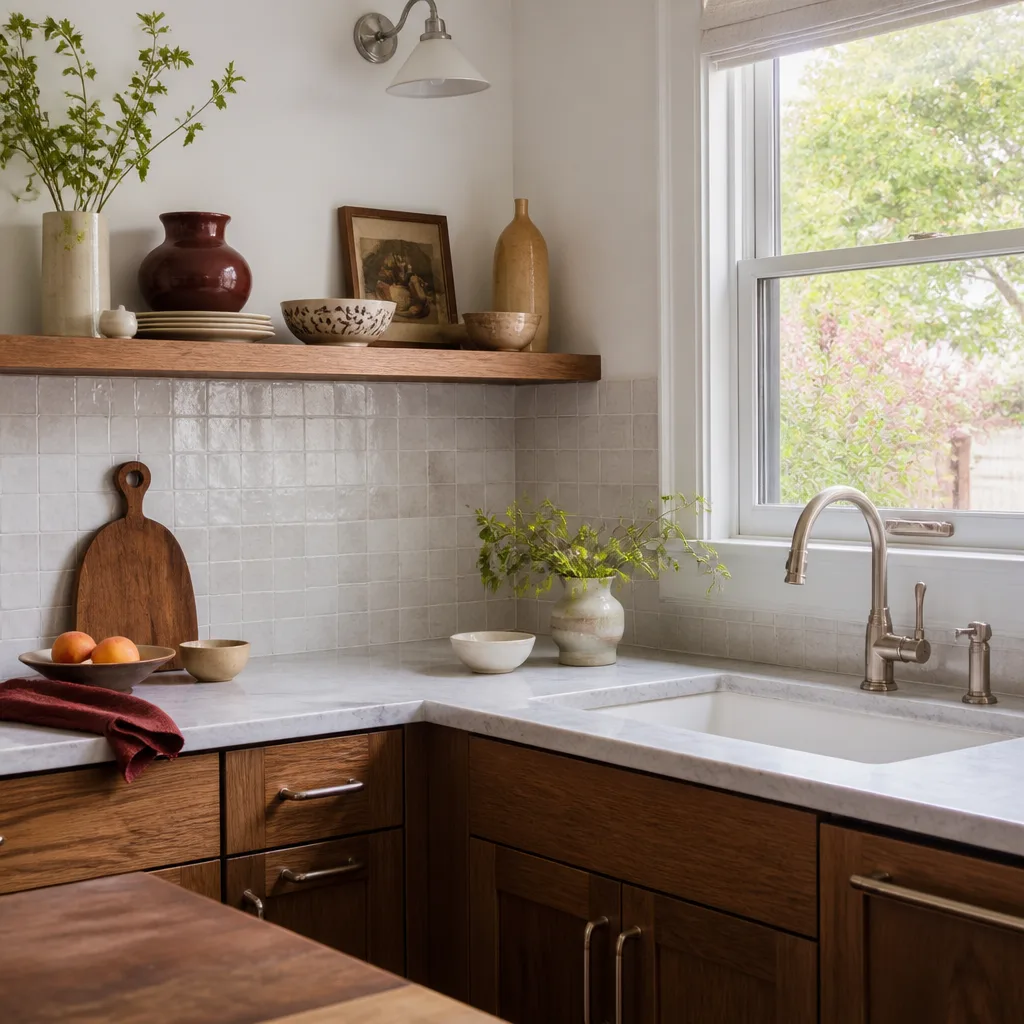
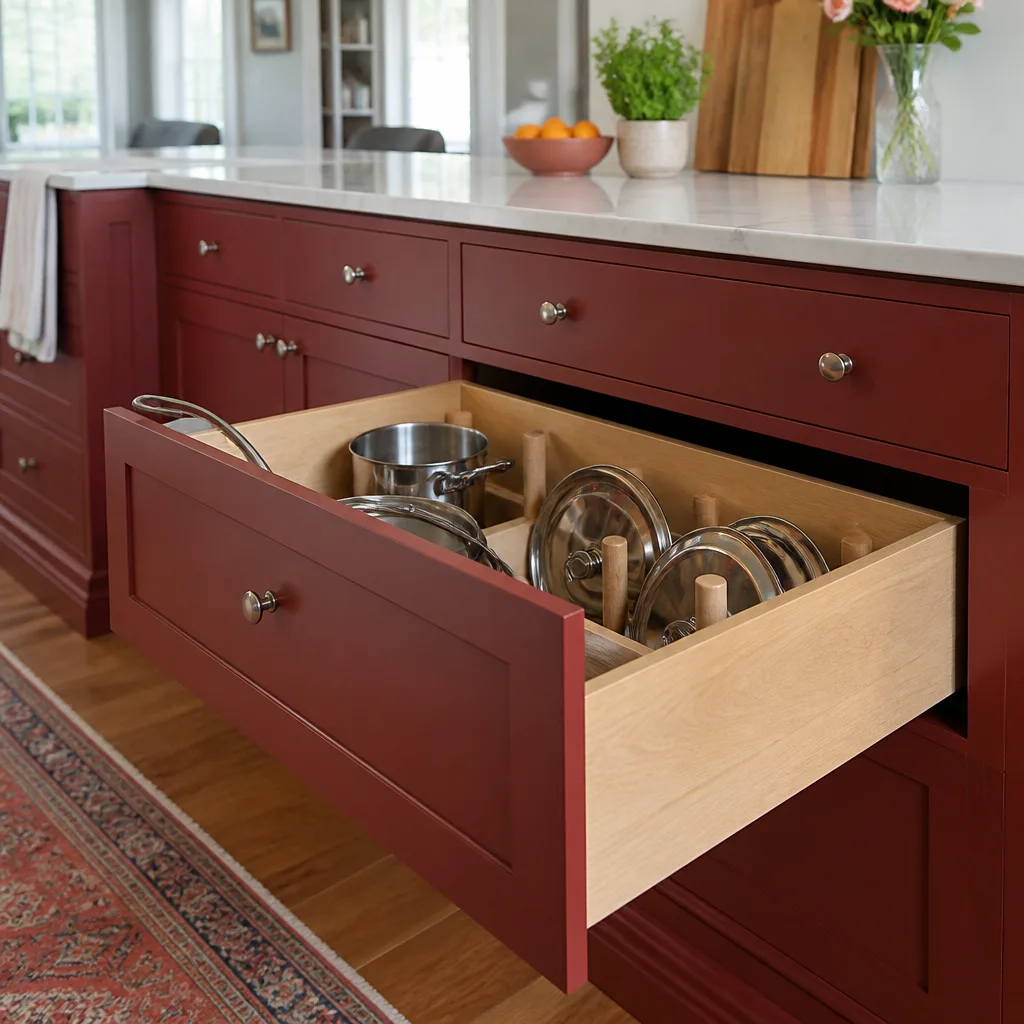
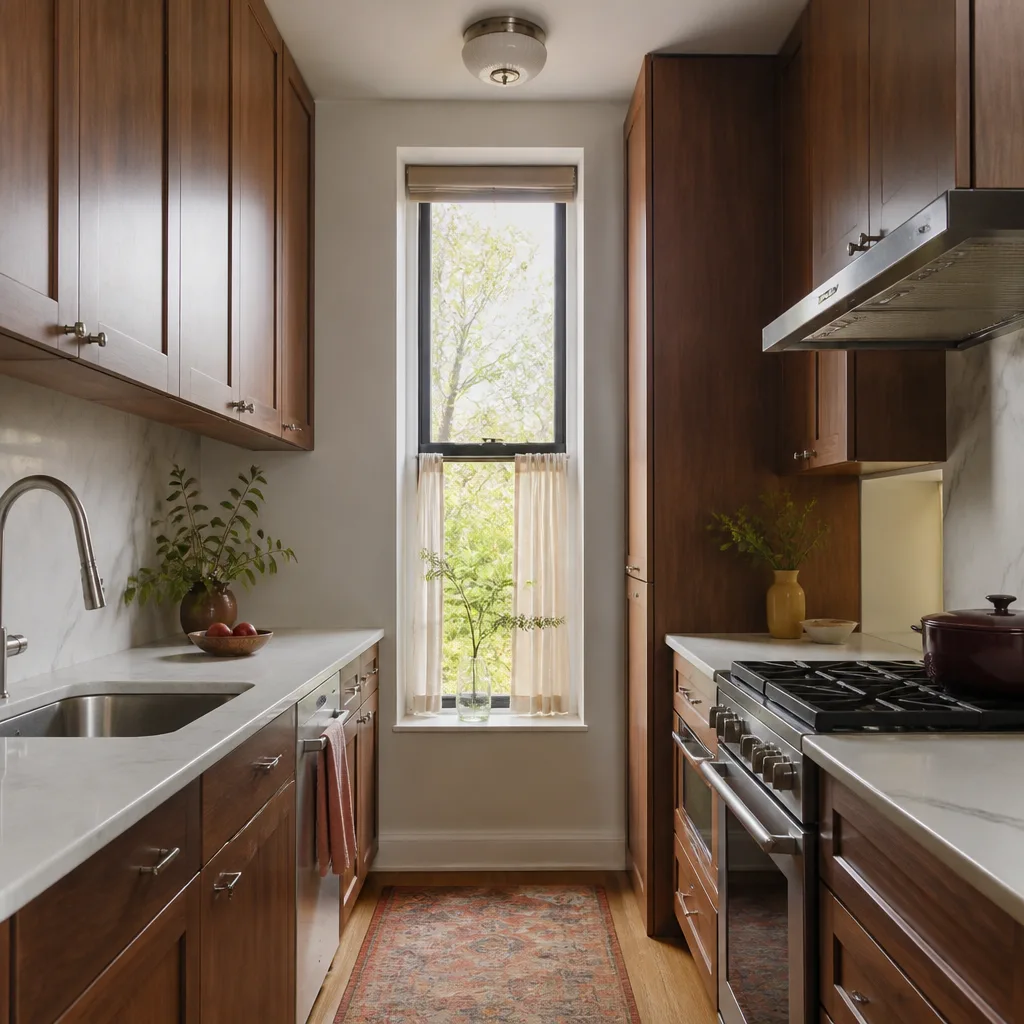



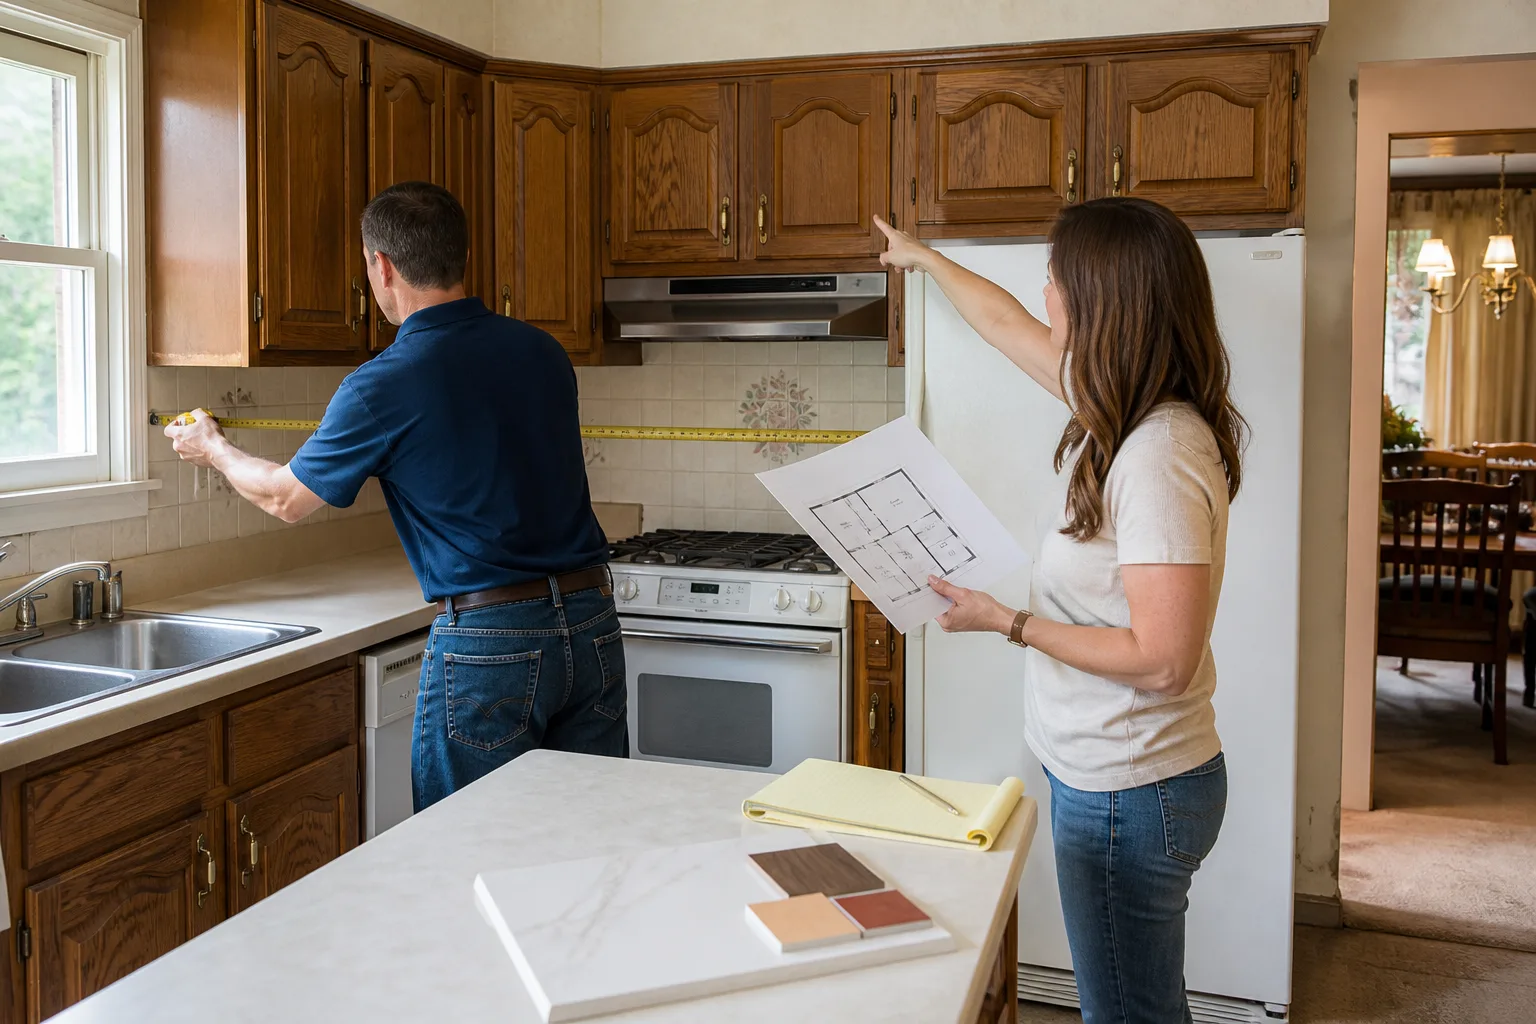
Free written scope consultation - allowances, timeline, and change-order rules on paper before a single trade is scheduled
Kitchen Remodeling Maintenance Schedule: What to Do and When
Grout sealer, cabinet hinge adjustment, and caulk inspection aren’t glamorous. But skipping them is exactly how a $30,000 kitchen remodel starts looking tired long before the warranty expires. We’ve walked into Anaheim kitchens finished three years ago where the backsplash caulk has split, two cabinet doors hang crooked, and the range hood filter is caked solid. The materials are fine. The maintenance never happened. The good news: most of what keeps a remodel looking new takes about four hours spread across the year. This guide lays out the whole schedule, month by month, so nothing gets missed.
Quick Answer
Maintaining a newly remodeled kitchen takes roughly four hours of work per year, spread across four checkpoints: 30 days, 90 days, six months, and twelve months. The first year matters most because new materials settle and shift, and catching a small caulk gap or a slow under-sink drip early is the difference between a five-minute fix and a water-damaged cabinet floor. Most of the tasks are genuinely DIY; a short list needs the original contractor.
Styles & brands we work with
- Kitchen remodeling
- Bathroom remodeling
- Home additions & ADU
- Roofing
- Windows & doors
- Driveway & pavers
- Fence
Table of Contents
- The First-Year Maintenance Schedule
- What You Can Do Yourself vs. What Needs a Call
- Reading Caulk Joints: Settling vs. Something Structural
- Appliance Maintenance That Protects the Build
- Cabinet Care: Hinges, Interiors, and Finish
- Using Your 365-Day Window as a Maintenance Partner
- Common Mistakes to Avoid
- Frequently Asked Questions
The First-Year Maintenance Schedule
The first twelve months after a kitchen remodel are the only period where the schedule is fixed in advance. New cabinets settle into their shims, caulk cures and shrinks slightly, and grout releases a little moisture as it fully dries. That’s normal. What separates a kitchen that still looks remodeled in year ten from one that slides back toward worn in three is whether someone walked the room at the right moments and caught the small stuff.
Here’s the schedule we hand homeowners at the end of every project:
- Day 30: cabinet and door check. Open and close every drawer and cabinet door. Hinges on new cabinetry can loosen as the wood settles into the room’s humidity. A quick quarter-turn on the hinge screws is usually all it takes. Check that drawer glides still run smooth and even.
- Day 30: caulk and grout inspection. Run a finger along the caulk at the countertop-to-backsplash joint and where the countertop meets the wall. Look for hairline separation. Check the grout lines on the floor and backsplash for cracks or crumbles.
- Day 30: under-sink check. Dry every surface under the sink with a paper towel, run the disposal and the faucet for a minute, and feel along the supply lines and the P-trap. A slow drip that leaves a faint water mark is easy to miss and easy to fix now.
- Day 90: hinge and glide adjustment, second pass. Hinges that loosened at 30 days often loosen a touch more by 90. Adjust door alignment so reveals (the gap between doors) stay even. Check any soft-close mechanism for sluggishness.
- Day 90: range hood and vent check. Pull the filter and check how quickly it clogs. Anaheim cooking produces more airborne grease than most homeowners expect, and a clogged filter strains the motor and pushes grease back into the room.
- Month 6: grout sealer touch-up. Kitchen floor grout takes the most foot traffic in the house. Applying a penetrating sealer at six months, then annually after, keeps it from staining and cracking.
- Month 6: appliance perimeter clearances. Pull the refrigerator out a few inches and check the gap between the fridge and the new cabinetry. Refrigerators need breathing room to dissipate heat; a cabinet panel pressed tight against the back or sides can cause the fridge to run hot and the cabinet finish to warp.
- Month 12: full annual review. Walk the whole kitchen the way you did at 30 days. This is also when you reseal grout, re-caulk any joints that have opened again, clean the range hood filter thoroughly, and inspect every appliance gasket.
Four hours, split across those checkpoints. That’s the whole commitment. The team at our kitchen remodeling service in Anaheim hands this schedule to every homeowner because we’ve watched what happens to kitchens where nobody does it.
What You Can Do Yourself vs. What Needs a Call
Most kitchen maintenance is genuine DIY work. A few tasks are not, and getting the line right saves money and protects your guarantee.
Genuinely DIY tasks:
- Wiping cabinet interiors with a damp cloth and mild soap. Grease and dust build up on shelves and drawer bottoms faster than anyone expects.
- Checking under the sink for slow drips. Just a dry paper towel and a visual pass after running the water.
- Resealing grout annually. A penetrating sealer, a small brush, and twenty minutes.
- Adjusting cabinet hinges and drawer glides with a screwdriver.
- Cleaning the range hood filter. Most are dishwasher-safe; check the manual.
- Inspecting the dishwasher door gasket for cracks or food debris.
- Pulling the refrigerator out to check clearance and clean the coils.
- Re-caulking a small, clean joint that has opened less than an eighth of an inch.
Tasks that warrant a call to the contractor:
- Any gap in caulk wider than an eighth of an inch, or any gap that keeps reopening after you re-caulk.
- A cabinet door that won’t stay aligned after hinge adjustment, or a drawer that binds.
- Grout that crumbles rather than cracks, or tile that sounds hollow when tapped.
- Any water stain under the sink, at the dishwasher, or behind the refrigerator.
- A cabinet finish that bubbles, peels, or lifts near the sink or range.
- Anything at all that’s covered by your project’s written guarantee. That’s what it’s for.
Every Penhallow Remodeling project comes with a written guarantee, and the 365-Day Done Right Promise means if the work itself fails inside the first year, we come back and fix it at no charge. That’s the point of having the schedule. You’re not expected to diagnose structural problems; you’re expected to notice things and tell us.
Reading Caulk Joints: Settling vs. Something Structural
This is the section most homeowners don’t know they need. Caulk joints around a countertop and backsplash will shift in the first year. Some of that is normal settling. Some of it is a sign that something needs a trained eye.
Normal settling looks like this: a hairline crack in the caulk, a thin separation line right at the edge, and no movement in the countertop itself. You press on the counter and nothing shifts. This is the material shrinking slightly as it cures, or the house cycling through a season of humidity. It’s a five-minute re-caulk with a good silicone-based kitchen caulk.
Something structural looks like this: a gap wider than an eighth of an inch, a countertop that rocks slightly when you lean on it, a backsplash tile that sounds hollow when tapped, or a gap that reopens within weeks of re-caulking. Anaheim’s dry climate and warm inland summers do move materials more than coastal climates do. A solid slab of quartz or granite expands and contracts with the season. Sometimes that reads as a re-caulking job. Sometimes it reads as a shim or substrate issue underneath, which is a callback.
Here’s the practical test. Clean the joint, dry it completely, apply fresh caulk, and give it two weeks. If it holds, you handled it. If it opens again in the same spot, call the contractor. Repeated failure at the same joint means the material underneath is moving, and no amount of caulk fixes moving material.
If your caulk failure turns out to be part of a larger picture and you’re rethinking the whole room, our general contractor team in Anaheim handles projects from single-room repairs up to full structural rework.
Appliance Maintenance That Protects the Build
Your appliances and your new cabinetry live together, which means appliance maintenance is cabinet maintenance. A range hood that can’t pull air pushes grease onto the cabinet finish. A refrigerator with no breathing room heats the cabinet panel pressed against it. A dishwasher with a failing door gasket leaks slowly into the cabinet run.
Range hood: Clean the filter every two to three months, or monthly if you cook most nights. Most dishwasher-safe filters go in the bottom rack on a normal cycle. The hood’s blower pulls cooking grease and moisture from the room; a clogged filter means that grease has nowhere to go but back onto the upper cabinets.
Dishwasher: Inspect the door gasket every six months. Run a finger around the entire perimeter and look for cracks, food debris, or a stiff spot. A few drops of water collecting at the base after a cycle is a warning sign. Tighten a loose gasket if the manual allows it; call a pro if the gasket is cracked or the leak is coming from the door seal itself. Anaheim households run dishwashers hard, so this inspection earns its keep.
Refrigerator: Check clearance at the back and sides twice a year. Most manufacturers want an inch or two of air gap. New cabinetry can close that gap without anyone realizing it. Pull the fridge out, clean the condenser coils, and let the appliance breathe. If your old fridge is a Toto or American Standard model with a tight panel surround, check the manual for the specific clearance before assuming the build is fine.
Range and oven: Wipe the cooktop surround and pull the range forward twice a year to check for crumbs and grease buildup between the appliance and the cabinet. Grease accumulates in that gap and it’s the usual cause of a cabinet finish that darkens near the range side.
If any appliance needs replacement mid-project or after, that’s a good time to talk to us. We use Delta and American Standard fixtures in our kitchen builds, and matching a replacement to the existing build takes about a phone call. Our Anaheim home remodeling team can help you plan it.
Cabinet Care: Hinges, Interiors, and Finish
Cabinets are the biggest line item in most remodels, so they deserve most of the maintenance attention. Good news: cabinet maintenance is genuinely simple if you do it on schedule.
Hinges: Once per quarter, open and close every cabinet door and listen. A hinge that swings with a tick or a knock is loose. Quarter-turn the hinge screws and re-check. On soft-close hinges, a sluggish door means the damper needs adjustment or a hinge needs replacing. Replacement is a ten-minute job with a screwdriver and the original hinge model.
Interiors: Wipe down cabinet interiors twice a year with a damp cloth and mild dish soap. Don’t soak them. Grease and crumbs collect on the shelf shelves and drawer bottoms faster than anyone realizes, and grease eventually works into the finish. Pull everything out of the cabinet, wipe, dry, put it back. That’s the whole job.
Finish: Dust and wipe the exterior cabinet doors once a month with a microfiber cloth. Skip wax and polish unless the manufacturer’s manual recommends it; most cabinetry finishes today carry a protective coat that doesn’t want an oily polish. If a cabinet face near the sink or range starts to bubble or lift, that’s a callback, not a DIY finish problem. The moisture is coming from somewhere.
Hardware: Tighten any loose drawer pulls and cabinet knobs on the schedule above. Loose hardware is a small nuisance, but it can also mar the finish underneath over time, and a homeowner with a screwdriver can prevent that today.
Using Your 365-Day Window as a Maintenance Partner
Most homeowners think of a guarantee as a number to call when something breaks. We’d rather you think of the 365-Day Done Right Promise as a maintenance partner for your first year. The point of logging what you find during that year is not to build a case; it’s to give your contractor the information needed to diagnose quickly if a problem turns out to be professional-level.
Keep a simple log. A note on your phone, a sheet on the refrigerator, doesn’t matter. Column one: date. Column two: what you noticed. Column three: what you did. A sample entry might read: “Feb 14. Caulk gap at back-left corner of countertop, about 1/16 inch. Re-caulked. Holding as of March 1.” Or: “April 2. Drawer on the left of the range sticks. Adjusted the glide. Still sticking after a week.”
This matters because the difference between a fast fix and a slow one is usually information. A gap that opens, gets re-caulked, opens again, and opens a third time tells a very different story than a gap that opens once. So does a leak that appears under the sink after the dishwasher runs versus one that appears only after heavy rain. Log the pattern, bring it to the callback, and the repair is faster and cleaner.
Remember that the 365-Day Done Right Promise covers the work itself. If a hinge we installed fails in month nine, we come back and fix it at no charge. If a repair we made fails inside the guarantee period, the second visit is free too. That’s a written commitment, and it’s why we tell homeowners to call even when they’re not sure it’s “worth a call.” Our preference is that you call early. The point is to catch things while they’re small, not after they’ve done damage.
Common Mistakes to Avoid
- Skipping the 30-day check entirely. The first month is when settling is most visible. Waiting until month six means you’ve given a small problem half a year to grow.
- Re-caulking over wet or dirty joints. Fresh caulk won’t bond to a wet surface or to old caulk. Clean, dry, and strip if needed. Anaheim’s dry climate makes it tempting to rush this, but a wet joint won’t hold no matter how warm it is.
- Using oil-based cleaners on cabinet interiors. Oil soaks into the shelf surface and attracts dust and grease. Mild dish soap and water is the right tool.
- Stacking the refrigerator flush against the new cabinetry. The panel and the appliance both lose. Check clearance against the manual before pushing it home the first time.
- Treating a re-curring caulk gap as cosmetic. If it opens back up in the same spot after two weeks, it’s structural, not cosmetic, and it needs a contractor’s eye.
- Not logging what you find. A note on your phone is worth more at a callback than a vague recollection of “something felt off in the spring.”
- Waxing or oiling cabinet doors with polish. Most modern finishes don’t want polish. Dust and a microfiber cloth do the job, and the manual will tell you if anything else is appropriate.
See the difference
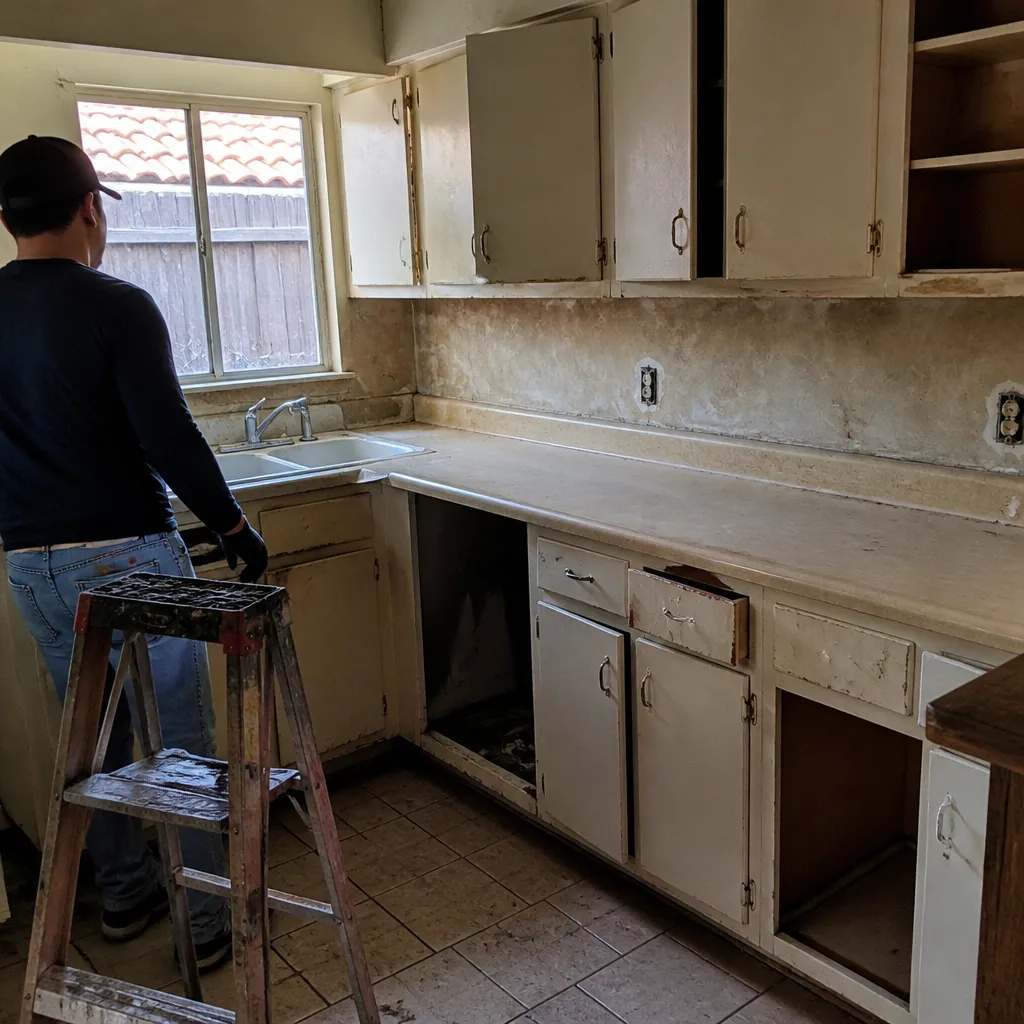 Before
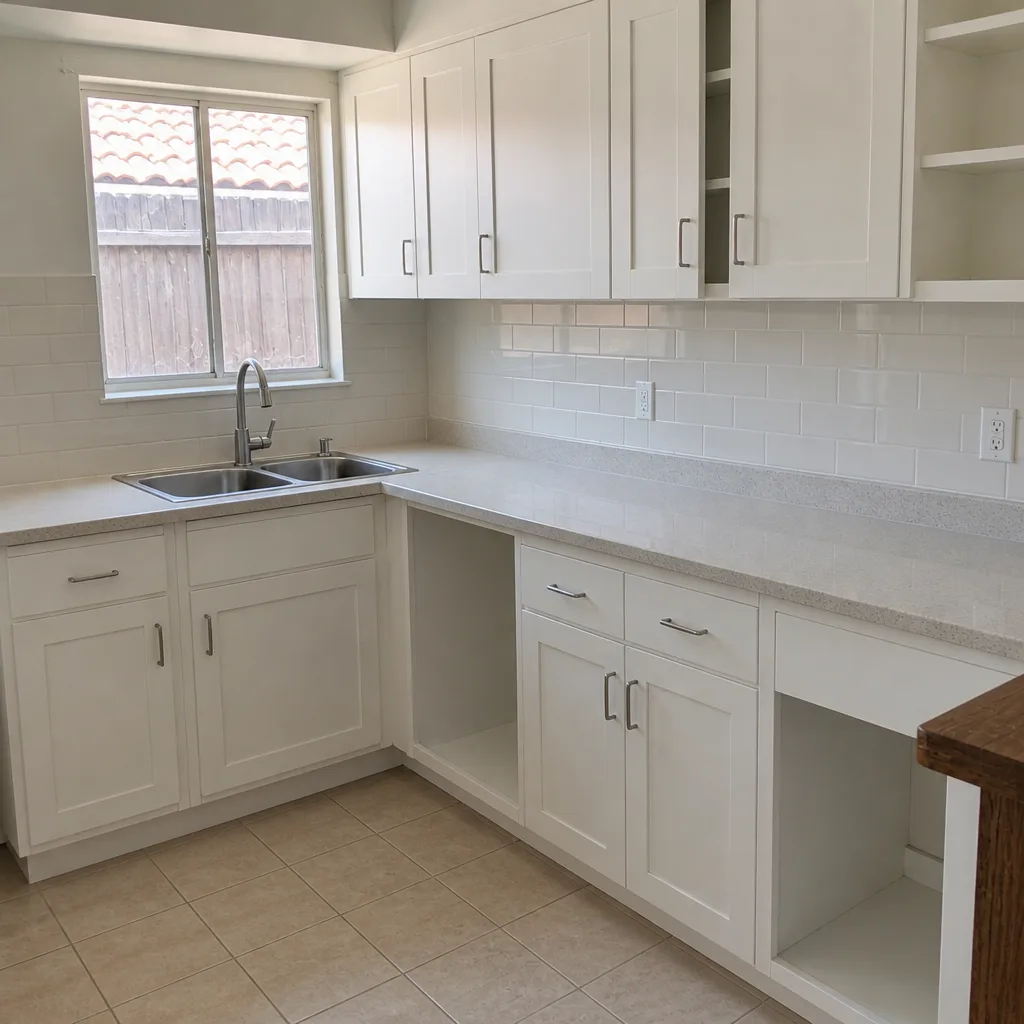 After
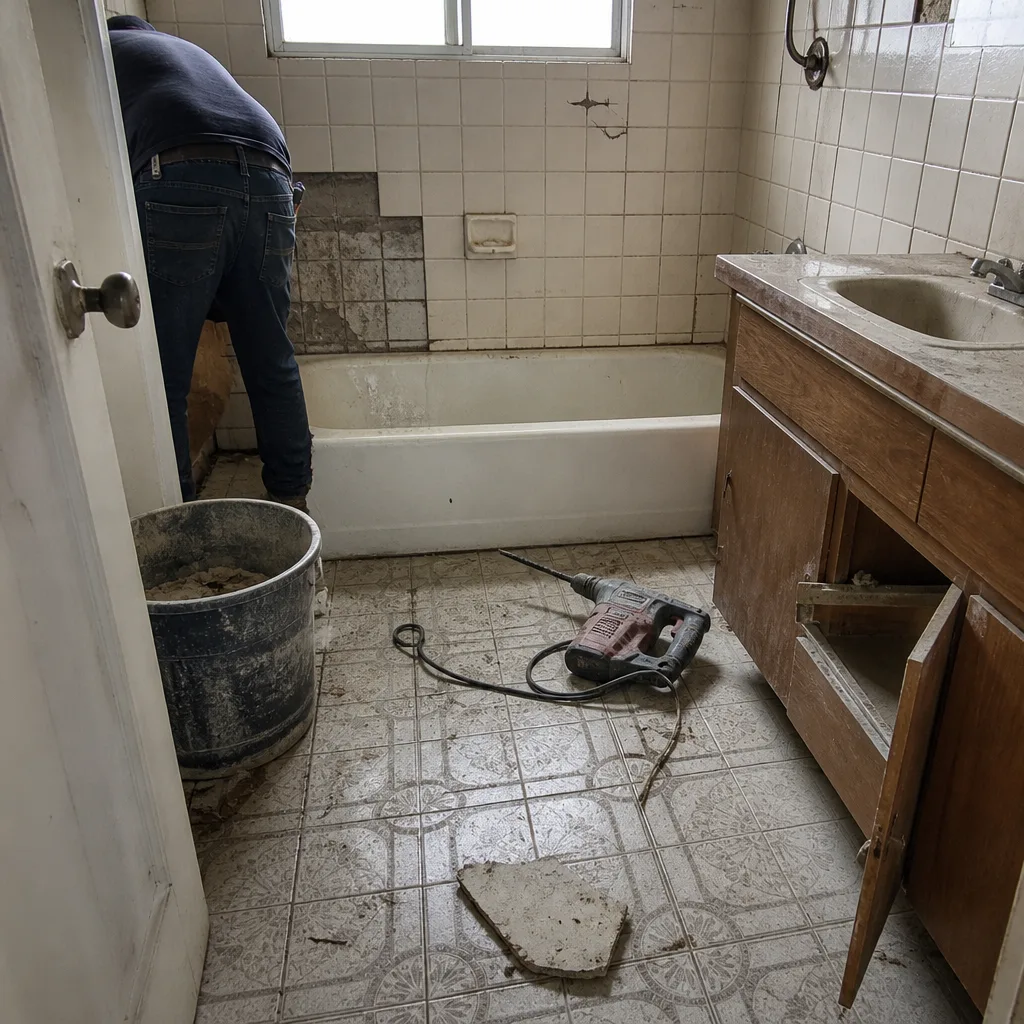 Before
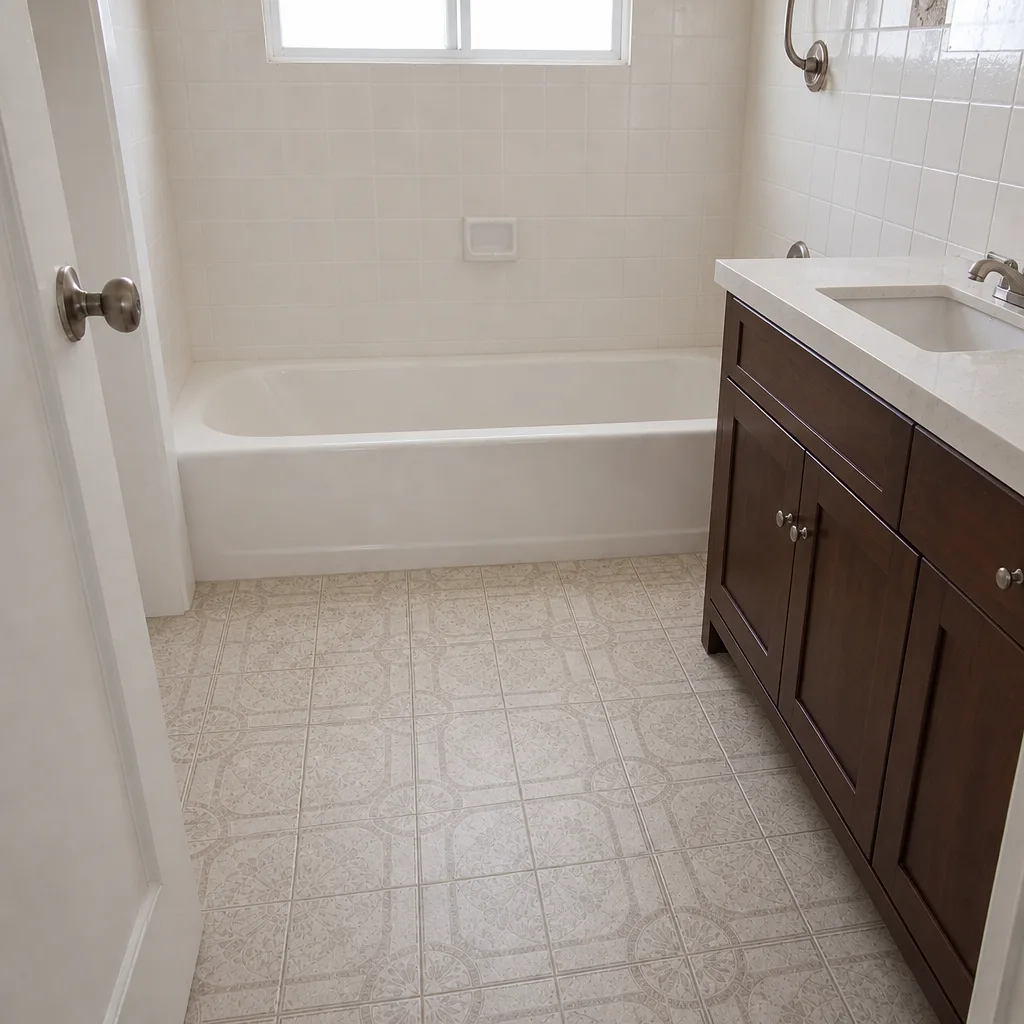 After
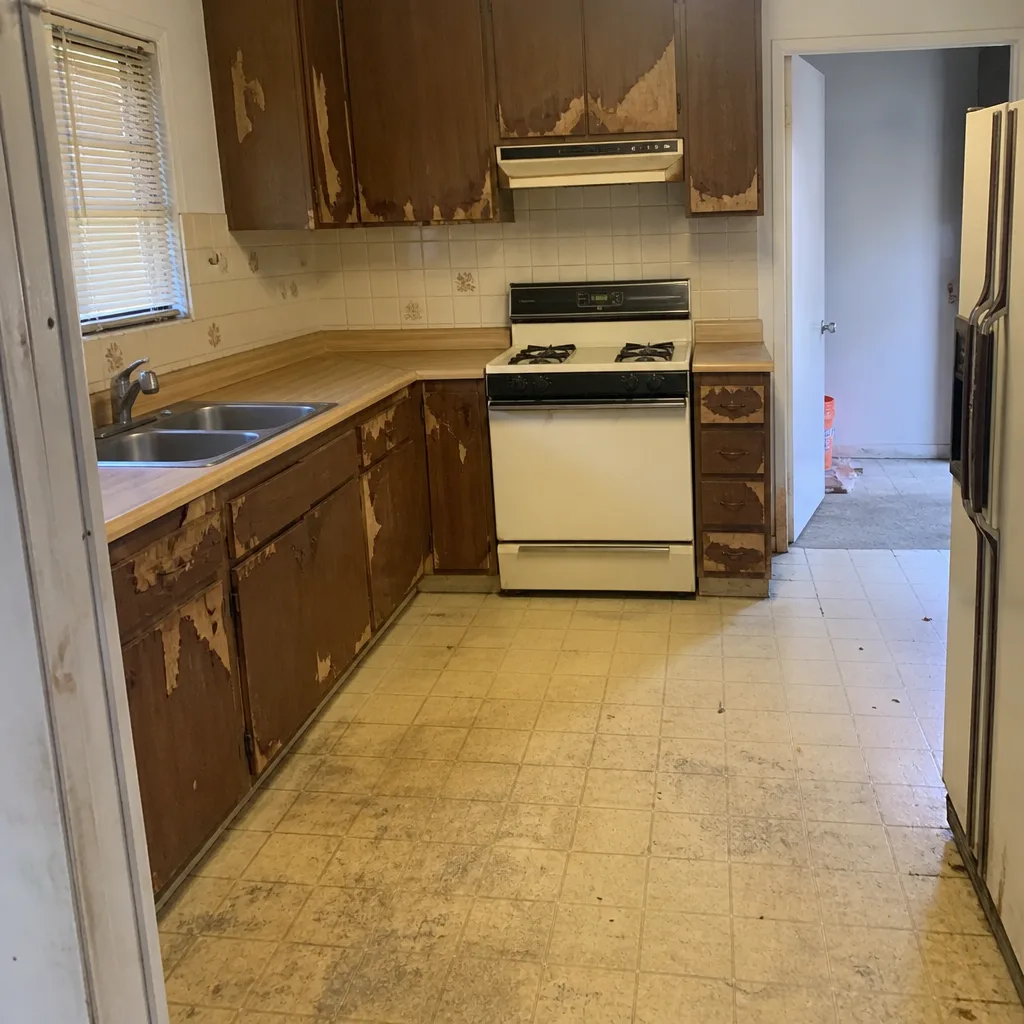 Before
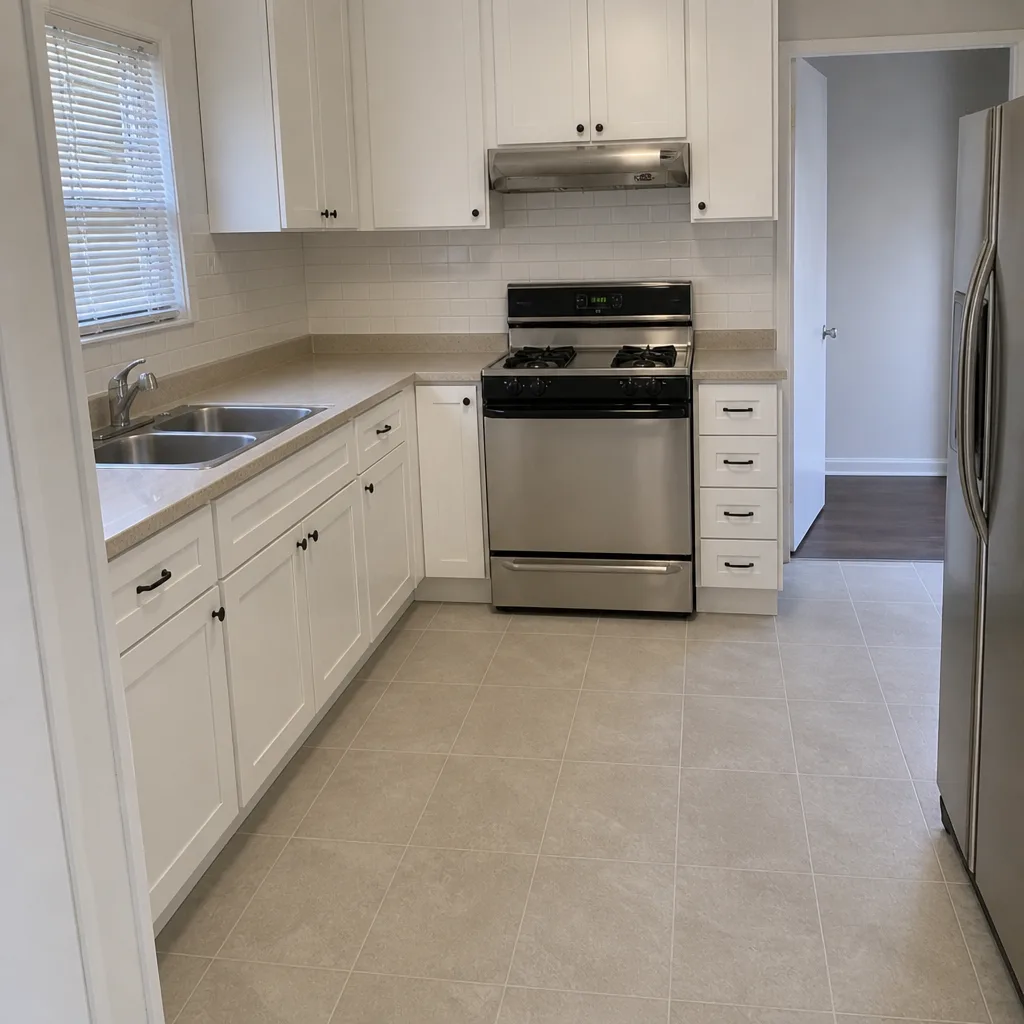 After
When to Call a Professional
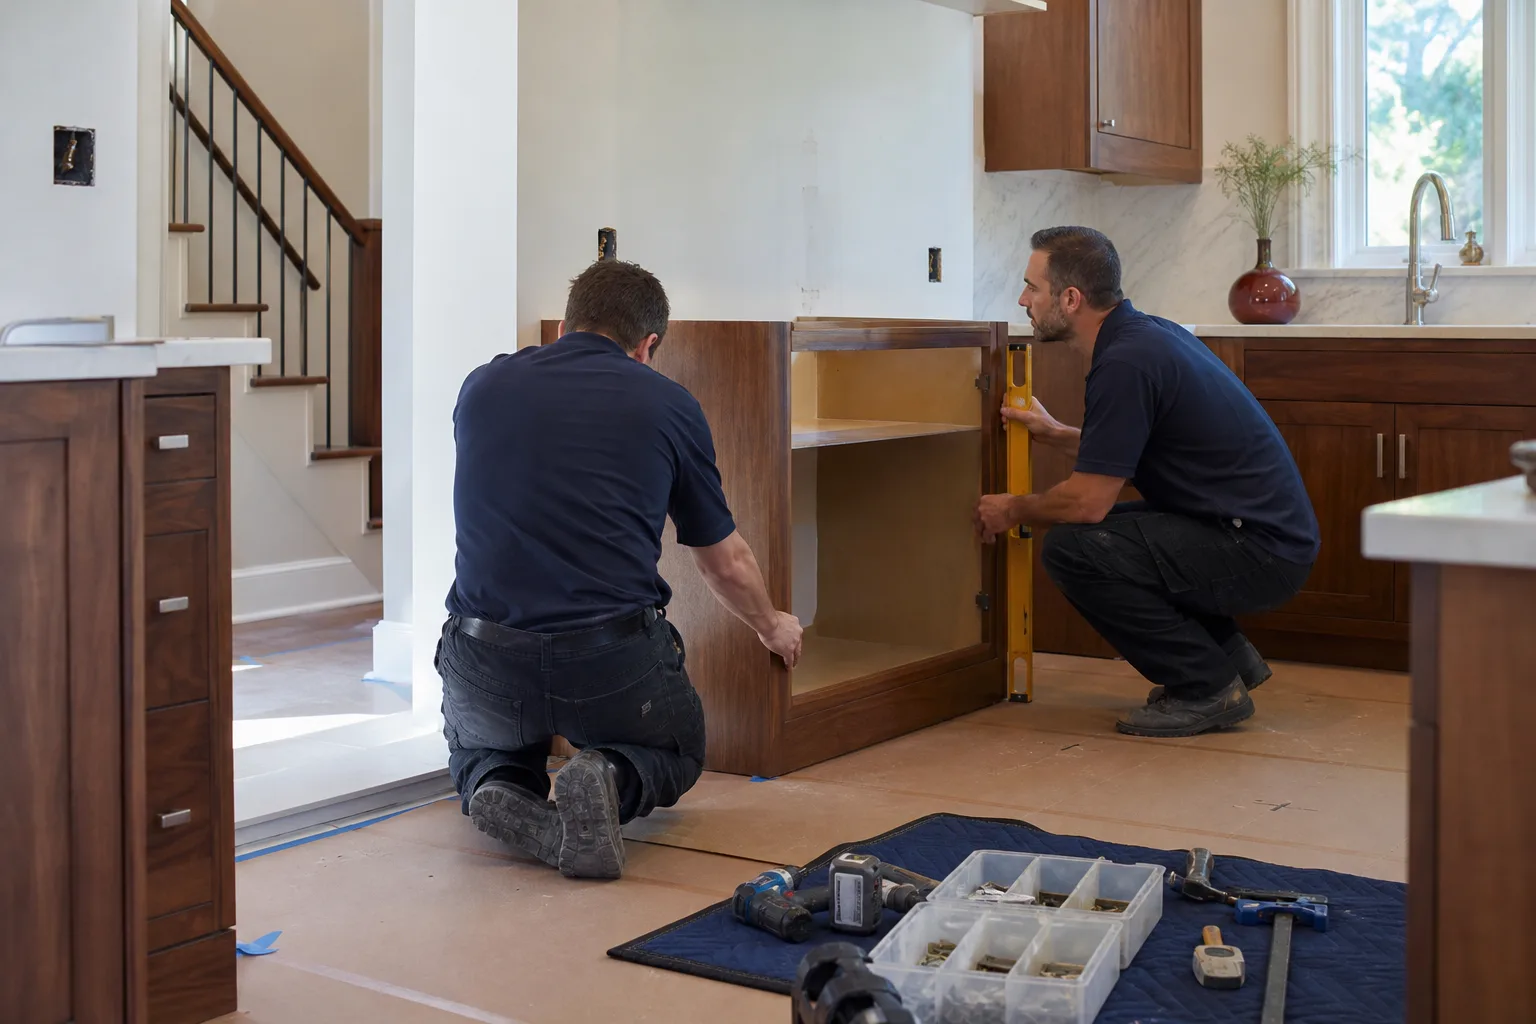
Call when a caulk gap reopens in the same spot after you’ve re-caulked it once. Call when a cabinet door won’t hold its adjustment after two tries, or a drawer binds with a hollow sound. Call when water shows up anywhere it shouldn’t: under the sink, at the dishwasher, behind the refrigerator, at a baseboard near the kitchen. Call when a grout line crumbles rather than cracks, or when a tile sounds hollow when tapped. Call when a cabinet finish lifts, bubbles, or peels near the sink or range. And call when you’re simply not sure; a phone call is free, and the sooner it happens, the smaller the cost of the fix.
Penhallow Remodeling Anaheim offers free estimates in Anaheim. Call (844) 320-2908 to schedule yours. Our bathroom remodeling team in Anaheim follows the same schedule with the same guarantees if your next project is the bathroom instead.
Frequently Asked Questions
About four hours per year, split across four checkpoints in the first year and two annual checkpoints after that. The most demanding period is the first three months, when settling is most active. After that, the maintenance drops to resealing grout annually, wiping cabinet interiors twice a year, and inspecting the range hood and dishwasher gaskets on schedule.
Our rule is six months for a new kitchen floor, then annually after that. Sealing fresh grout too soon can trap moisture that hasn’t finished drying. Anaheim’s dry climate lets grout dry a little faster than coastal climates, so six months is the right starting point here; go ahead and reseal at twelve months and once per year after that.
You can fix a caulk gap smaller than an eighth of an inch yourself, and you should. Clean, dry, strip the old caulk if needed, and apply a kitchen-grade silicone caulk. If the gap is wider than an eighth of an inch, if it reopens within two weeks of re-caulking, or if the countertop rocks when you press it, call the contractor. That’s usually a settling or substrate issue, not a caulk issue.
New cabinets settle into their shims as the wood adjusts to humidity, and the hinges often loosen slightly in the first 90 days. A quarter-turn on the hinge screws fixes most alignment issues. If a door won’t hold its adjustment after two tries, or if a drawer binds, call the contractor; that’s a hinge replacement or a gliding issue, and it’s a callback covered under the guarantee.
Yes. Every Penhallow Remodeling project in Anaheim comes with a written guarantee and the 365-Day Done Right Promise. If the work we did fails inside the first year, we come back and fix it at no charge. If a repair we made fails inside the guarantee period, the second visit is free too. Call (844) 320-2908 and a live person answers, day or night.
We can still help. The maintenance schedule in this guide applies whether we built your kitchen or not, and the DIY-versus-callback list is the same. For anything that needs professional attention, call (844) 320-2908 to schedule a free estimate; we’ll walk through the issue with you and tell you honestly whether it needs a repair, a fix under someone else’s warranty, or something more. A background-checked, uniformed technician will arrive in a real window we gave you, and you’ll get a written price before any work starts.
The Bottom Line
The kitchen that looks remodeled in ten years is almost never the one with the most expensive cabinets. It’s the one where someone walked the room at 30 days, 90 days, six months, and twelve months and caught the small stuff. Four hours a year. That’s the whole difference. Reseal your grout annually, re-caulk small joints when they open, check under the sink for slow drips, give your refrigerator room to breathe, and keep a simple log of what you find. When something feels wrong, call early. The written price before work starts, the arrival window we give you, and the 365-Day Done Right Promise all exist so that the answer to “something’s off” is never a guess. If you’re planning a kitchen remodel or need help with a maintenance issue in Anaheim, call (844) 320-2908 to schedule your free estimate. A live person answers, and you’ll know the number before anyone picks up a tool.
Written by the team at Penhallow Remodeling Anaheim.